


Integrating the SenseCAP Indicator with Home Assistant – Complete Guide MQTT & ESP32
Introduction
Unlock the full potential of your smart home by integrating the SenseCAP Indicator with Home Assistant . This powerful combination allows you to monitor and control your environment with remarkable simplicity and flexibility.
In this comprehensive guide, you will learn how to connect the SenseCAP Indicator to Home Assistant via MQTT , flash the ESP32 firmware, configure entities, and create an interactive dashboard to view your data in real time.
Prerequisites
- A SenseCAP Indicator
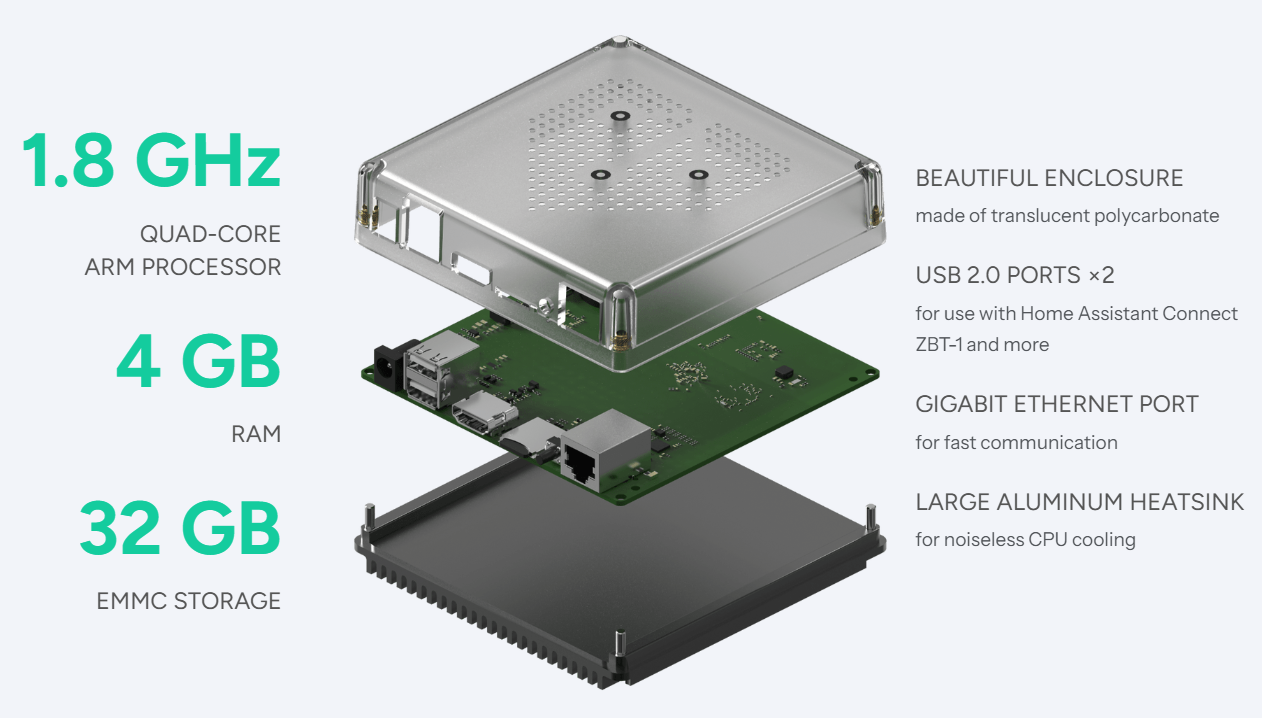
- A server or device running Home Assistant (Green, Yellow or Raspberry Pi)
- Stable network connection (Wi-Fi)
- Familiarity with MQTT and YAML configuration files
Before you begin, consult the SenseCAP Indicator Board User Guide to familiarize yourself with its hardware and software features.
1. Install Home Assistant OS
Home Assistant is an open-source home automation platform that prioritizes privacy and local control. You can install it on Home Assistant Green (out-of-the-box solution) or on Home Assistant Yellow for complete customization.
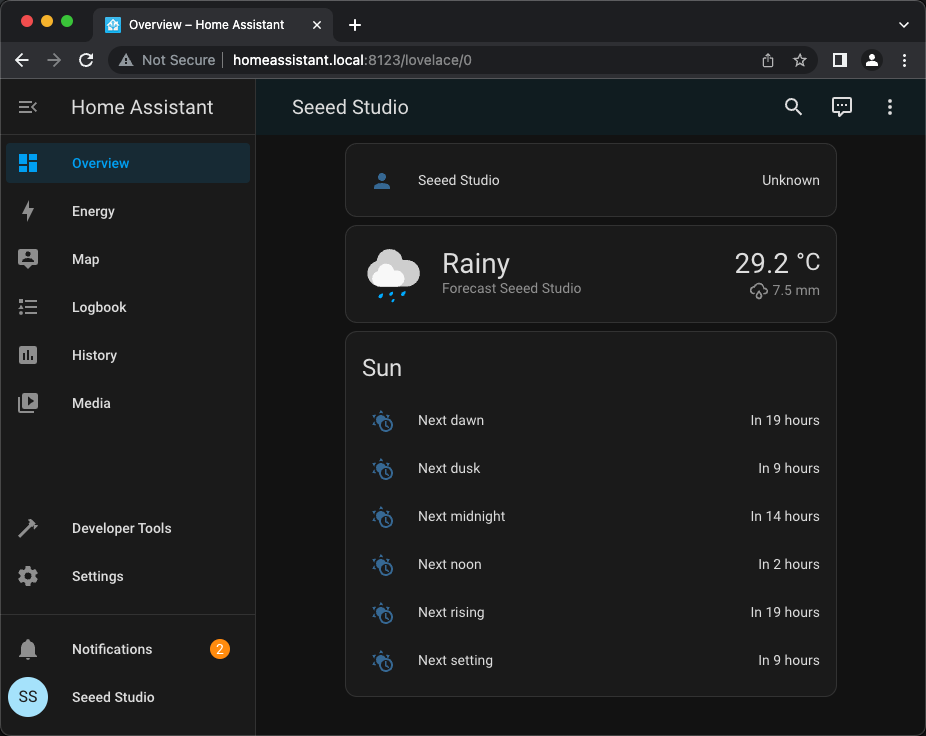
Once the installation is complete, access your Home Assistant interface (default http://homeassistant.local:8123 ) to proceed to the next step.
2. Install the necessary add-ons
In Home Assistant OS or Yellow, add-ons allow you to extend functionality without complex procedures. Install the following two modules:
- Mosquitto Broker – for MQTT communication
-
File Editor – for easily editing the
configuration.yamlfile
Enable the “Show in sidebar” option for quick access to the file editor.

3. Configure the MQTT integration
The MQTT protocol is essential for connecting your SenseCAP Indicator to Home Assistant. It allows for bidirectional exchange of data (measurements and commands).
- Go to Settings → Devices & Services → Integrations
- Search for MQTT and add the integration
- If it is not detected automatically, enter the Mosquitto broker's IP address.
Creating an MQTT user
For secure communication, create a dedicated user:
- Username: indicator-usr1
- Password: indicator-password
Save your data, then restart the Mosquitto broker. Use these credentials in the SenseCAP Indicator's MQTT settings.
4. Prepare and flash the ESP32 firmware
Before integration, install the firmware suitable for the SenseCAP Indicator.
- Download or clone the official project:
git clone https://github.com/Love4yzp/sensecap-indicator-ha
- Access the folder:
cd sensecap-indicator-ha
- Compile and flash the firmware:
idf.py -p PORT build flash monitor
Replace PORT with the serial port of your device:
- Windows: COMx (Device Manager)
- Linux/macOS: /dev/ttyUSBx
Once the flashing process is complete, the device will display Wi-Fi and MQTT connection messages from the SenseCAP Indicator. Ensure it is on the same network as Home Assistant.
5. Add the SenseCAP Indicator to Home Assistant
Step 1: Modify the MQTT configuration
In the File Editor , open configuration.yaml and add the following MQTT entities:
 mqtt:
 sensor:
 - name: "Temperature SenseCAP"
 state_topic: "sensecap/indicator/temperature"
 unit_of_measurement: "°C"
 - name: "SenseCAP Humidity"
 state_topic: "sensecap/indicator/humidity"
 unit_of_measurement: "%"
 - name: "CO2 SenseCAP"
 state_topic: "sensecap/indicator/co2"
 unit_of_measurement: "ppm"
Save, then reload the configuration via Developer Tools → YAML → Reload Configuration .
Step 2: Check the entities
After restarting, the SenseCAP Indicator entities will appear automatically. You can use them in your automations or scripts.
6. Create a custom dashboard
To view your SenseCAP data in Home Assistant:
- Go to Settings → Dashboards
- Click on Add a dashboard (e.g., “SenseCAP Indicator”)
- Add Gauge or Entity type cards to display temperature, humidity, CO₂, etc.
You can also activate the “Raw Configuration Editor” mode to import a custom YAML.
7. Resources and technical support
- GitHub Project: SenseCAP Indicator HA
- SenseCAP Documentation: Complete Indicator Board User Guide
- Home Assistant Guide: Installation and configuration
- Seeed Forum / Discord: Community and technical support
Thank you for choosing Seeed Studio and SenseCAP for your smart home projects. The DistrIoT team will assist you in implementing your local LoRaWAN and IoT solutions.